Building Flower Gardens

DSC_0132

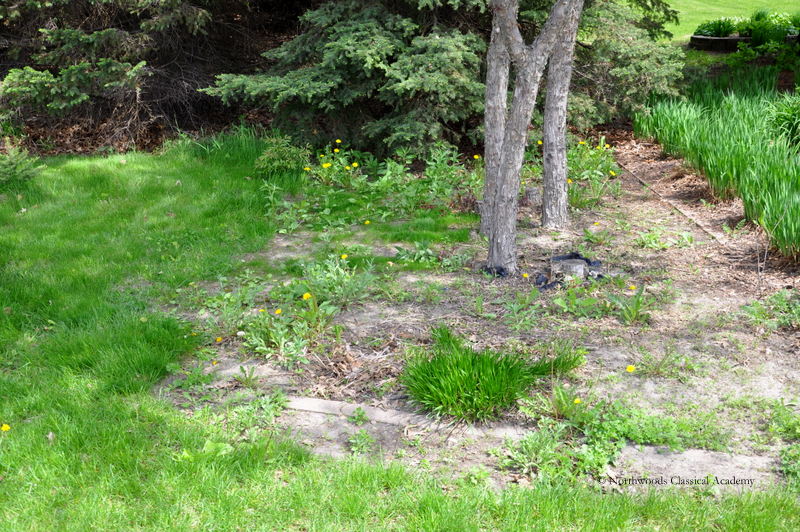
For several years I pretended not to notice it.  I’d drive by and keep my gaze firmly in front of me.  Except when I did notice, I’d tell myself that grass would grow over it.  Except that grass only grew over parts of it, and the remaining open areas would be engulfed with weeds.  Weeds, weeds and more weeds.

DSC_0036

There’d been a flower bed in the same location many years ago when the previous owners lived here.  But it had not been taken care of for awhile and one of its borders was not well defined.  Sadly, most of the time it sat forgotten and abandoned with its only guests being some bright yellow dandelions.

Fortunately the warm spring temperatures have a motivational effect on me, and I develop these wild bursts of energy to start involved projects.  And come up with a plan I did: I decided to build a new flower garden in the very spot where one once stood. But I did not have to embark upon my plan alone.  My 14 year old daughter stood ready and willing to help me accomplish a blossoming goal, and together we built our first flower garden.

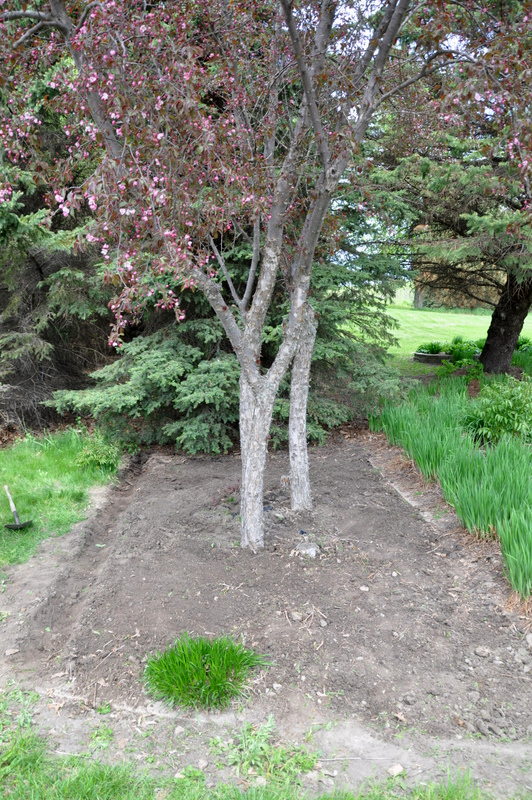
To begin, we found shovels from the garage and began digging up walls of weeds.  In what was the most difficult part, we pulled out the weeds and turned over the remaining dirt across the rectangular space.  In the front sat a pretty green shrub that was part of the original flower garden. We decided that it should stay.  To give the garden a well defined northern border, I dug up a trench.  Up to this point we’d spent a few hours working, and it was exhausting using muscles I’d forgotten about.  As I sit and write this, I feel soreness in my arms and aches in my back.

DSC_0046

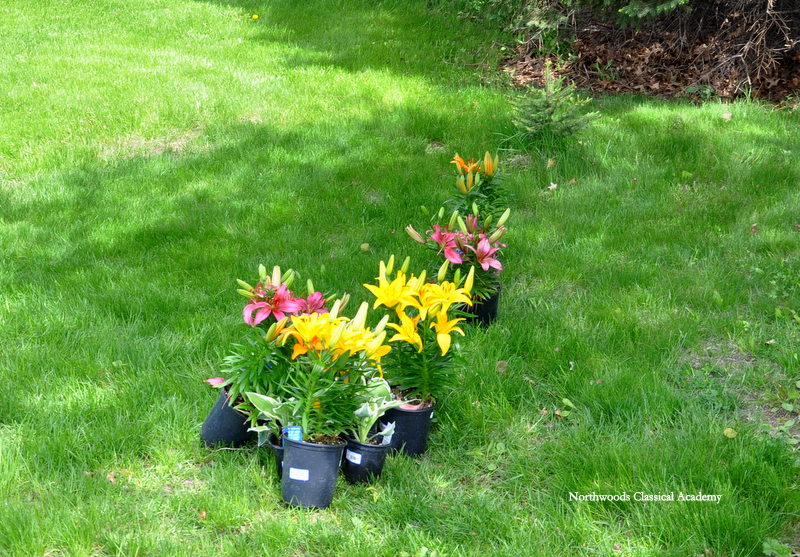
Preferring to plant only hardy types, we next brought down a wagon full of perennial flowers to adorn our garden.

DSC_0037

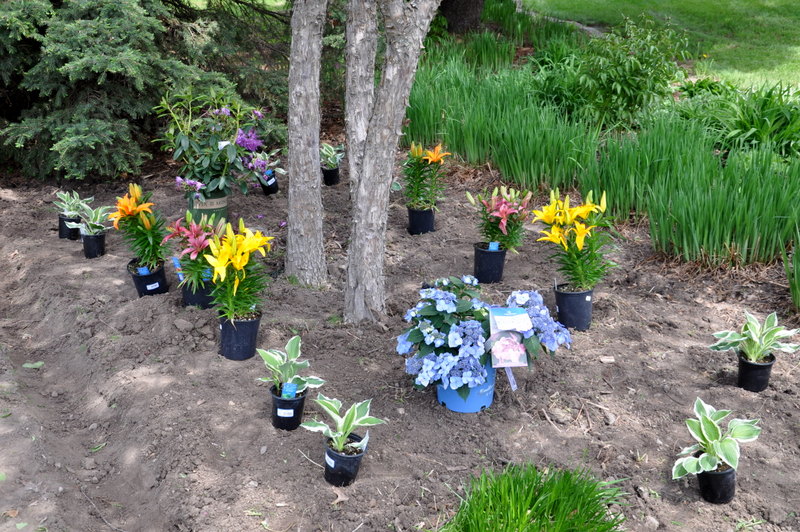
After thinking about color for awhile, we set the flowers upon the freshly dug up dirt to decide placement.  Included were a rainbow of vibrant colors: lilies of hot pink, golden yellow, and tiger orange; blue hydrangea; purple iris; hostas; and few other interesting looking plants whose names escape me.

DSC_0050

Next I read the directions and prepared to give the lively plants a home.  I dug holes and my daughter filled each hole with about one inch of water.  Then I placed each in its spot and firmly packed the holes with dirt.  This part went surprisingly fast.

To give the garden a more decorative look, my daughter and I traveled to our local hardware store and found some arched maroon brick.  We’d measured the length of the side of the bed using my quilting tape to get an estimate on how many bricks to buy.  Then I had to redefine my ditch to make the bricks lay as level and straight as possible.

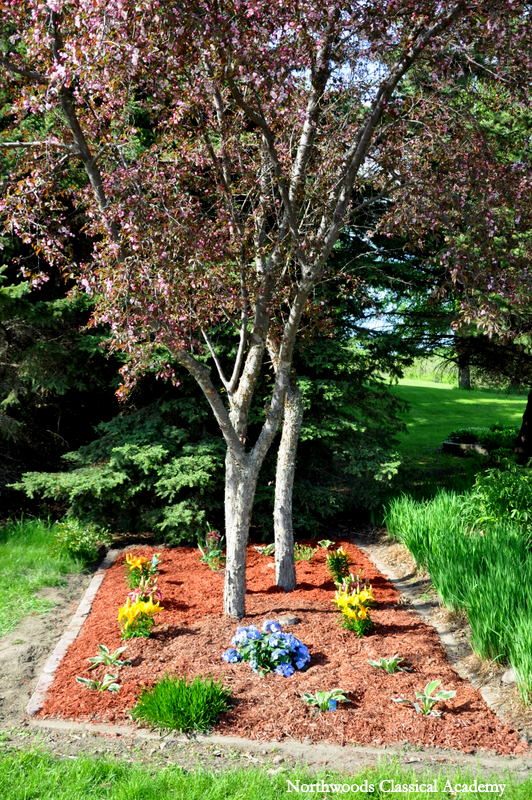
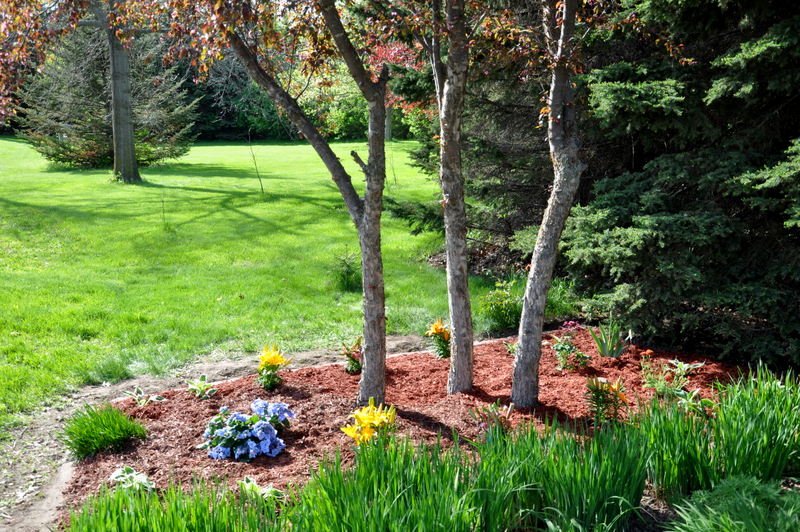
Lastly, we covered the new flower bed with a generous quilt of red mulch to help prevent new weeds from forming.  Certainly the weeds will be returning, I just hope this mulch will decrease the amount I’ll need to pull.

DSC_0059-001

After working for about six hours, we were done.  Now we both knew how to design a flower bed.  And we could behold the view!

What could’ve been an overwhelming job was made pleasantly simple with my daughter’s presence.  She was cheerful and supportive, and we had ample time to visit.  We’d spent our day together working towards a shared goal.

And as I see it we built more than a flower garden, we also built happy memories.

DSC_0061

Paper Tie – Wordless Wednesday

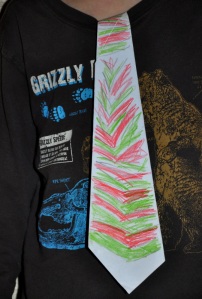
What’s a child to do when he finishes his lessons early?  Perhaps design a tie by folding, coloring, and taping the paper art to his shirt?

DSC_0153

And the reverse must be a different pattern…

DSC_0154

Created by the now ‘Sharp Dressed Explorer’, 6.  😉

Wrapped Up in Art

I still have the quilt that my grandmother made for me when I was a child.  Though no longer in the best condition, it has a special significance and is still warm.

Over two years ago, I started a quilt for my now five year old.  But after realizing how much of my time it took, I decided that I’d finish it the next summer when I’d have more time.  Of course, when next summer came, it did not get done.

I had pretty much given up on finishing it until about a month ago.  My older three children already have a hand-made quilt from me, but my youngest son does not.  I knew I had to do something.

I mostly learned how to quilt by reading quilt books, experimenting, and especially by making and fixing lots of mistakes.  For example, I really wanted to make an eight-pointed star quilt several years ago.  I’d cut on the bias and pieced everything just as I had read in a quilt book.  But when I’d finished the final stitch, my star did not lay flat.  I felt frustrated.  Rather than give up, I got out some scrap fabric and started over – that day.  I was determined that if the lady smiling back at me on my quilt book could make this, then so could I.  But this time I was more careful and aware of the seam allowances.  And after the final stitch, it laid flat.  This was a lesson for me.

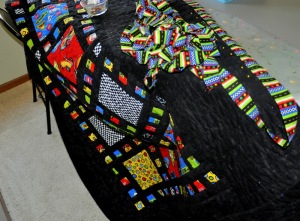
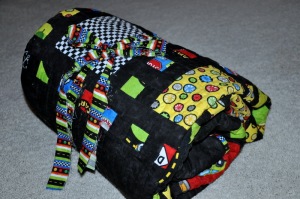
In light of my busier schedule with homeschooling, for my youngest son’s quilt I chose a simple pattern – squares and rectangles – with the theme of cars since he loves cars.

Though I pieced the quilt fairly quickly with a sewing machine, I decided that I didn’t want to machine quilt it.  (In the past, I’ve found that the machine jerks the quilt too much when quilting the final patterns.  It’s also difficult to stay on the lines.)  Instead, I prefer hand quilting because it gives me more control over the stitches and more accurate stitch results.  But the problem with hand quilting is that it takes a lot of time.

DSC_0620
Putting on the binding…close to being done.

So I have been waking up at 6 a.m. most mornings for the last 30 days hand quilting for an hour before everyone else gets out of bed.  (Yes, I’ve easily spent over 30 hours hand-quilting this.) At first, I wasn’t enjoying it.  I admit it.  It felt like another of my long list of things to do.  I even put myself in a routine just to get through it and get everything done.  But towards the end, something changed.  The peacefulness I felt in just having a little time to myself to think while I hand quilted made a difference in my day.  Now that I’m done, I’m even considering making another quilt.

The lesson for me in finishing this quilt was that when I put my mind to it, I finally started to get somewhere.  Making a quilt is a big project requiring a plan, time, and effort.  But the thought of having created a piece of art that my son will be able to wrap himself in for years to come makes me happy.  And now he will have his own quilt like everyone else.

DSC_0689

The Explorer’s birthday is this week, and guess what he is getting as one of his gifts?

Keeping Your Lego Sword Close – Wordless Wednesday

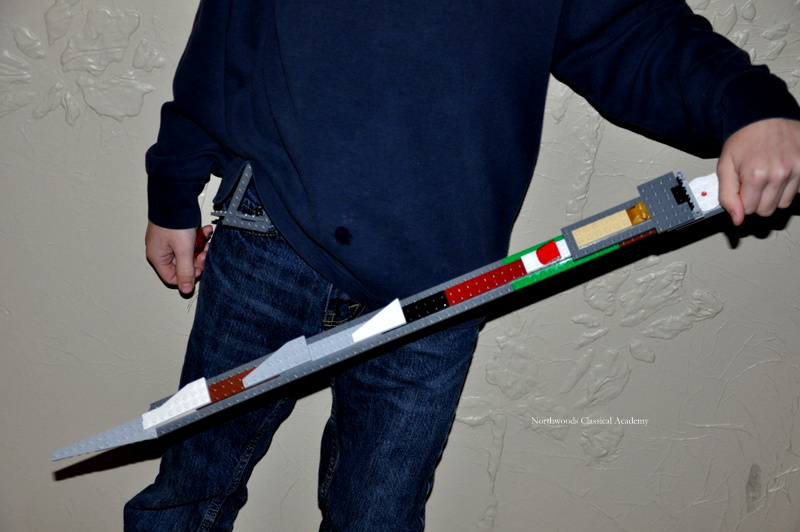
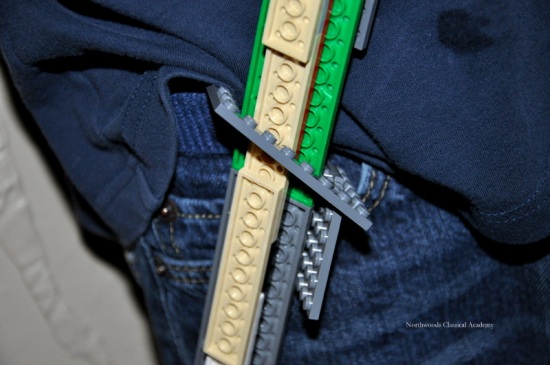
The Architect, 8, came up with this nifty idea for a place to carry his Lego Sword: with a Lego piece attached by his belt.

DSC_0333

DSC_0334
This is quite the useful piece.
DSC_0331
Sword slides right in and stays in place. 🙂

Coming next week: an in-depth review of our first quarter of school.